How do I save notes and highlights about a resource?
Your Notebook allows you to save notes and highlights about digital resources. (Please Note: You must be logged into your Backpack to use this feature.)
From your Notebook, you can:
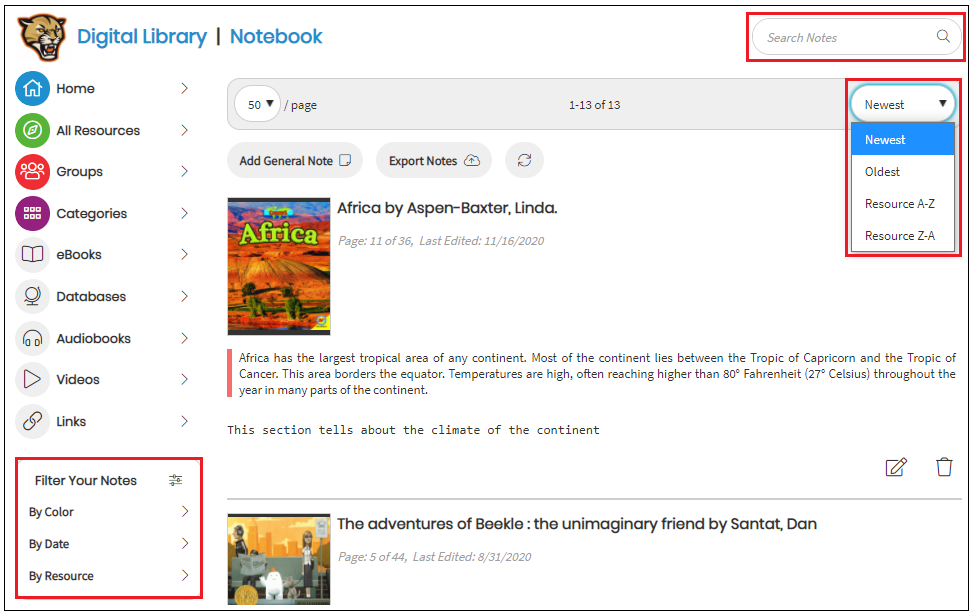
- View, edit, and delete your notes
- Search your notes
- Sort your notes by newest, oldest, or resource title
- Filter your notes by highlight color, date, or resource
- Export your notes to Google Drive or OneDrive
- Print your notes
To skip to a subsection of this topic, choose from the links below.
Highlighting Text
Adding Notes
Viewing Notes
Editing Notes
Deleting Notes
Highlighting Text
To create a note about text in a resource, you must first highlight it.
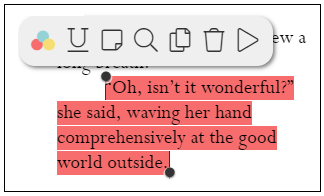
Select the text by clicking and dragging the cursor or Text Selection Pins (or tap/hold on a mobile device). Click on the highlighted text to view the Options menu.
When the menu appears, select the Highlight Color button. ![]()
Choose from a variety of color options or click
the Underline button to underline the text. ![]()
Adding Notes
After you’ve highlighted the text, click/tap the Note button. ![]()
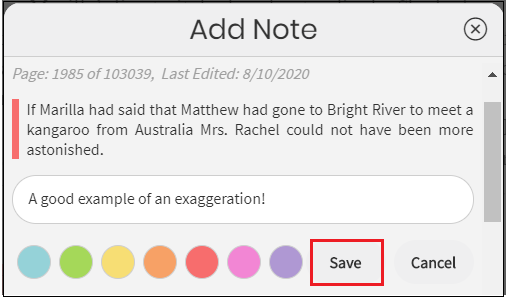
Type your note and click the Save button.
A Note icon will appear in the margin next to the highlighted text after you save your note.
You can also create a General Note which is not associated with highlighted text. A General note can be about any type of resource including databases, audiobooks, videos, links, or even print materials.
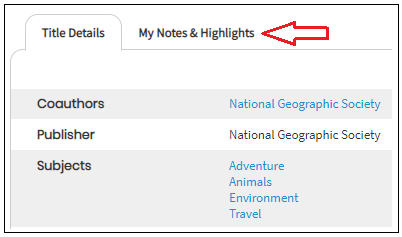
To add a General Note about a resource found in MackinVIA, click on the title, cover image, or More Info to access the Full Record page.
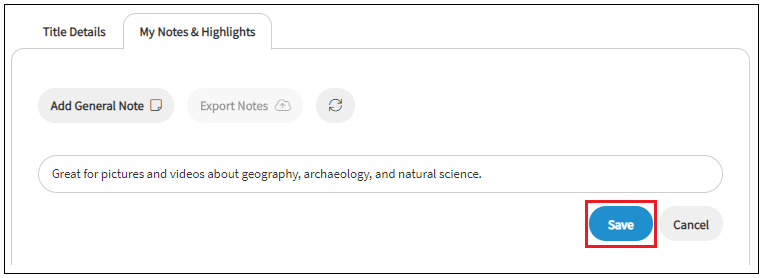
Select the My Notes & Highlights tab.
Click the Add General Note button.

A text box will appear below the tabs. Type your note and click the Save button.
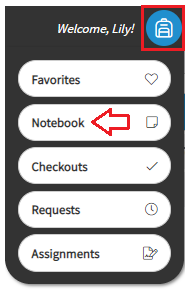
To add a General Note about a resource not found in MackinVIA, click the Backpack icon and select Notebook.
Click the Add General Note button.

A text box will appear below the Notebook header. Type your note and click the Save button.

Viewing Notes
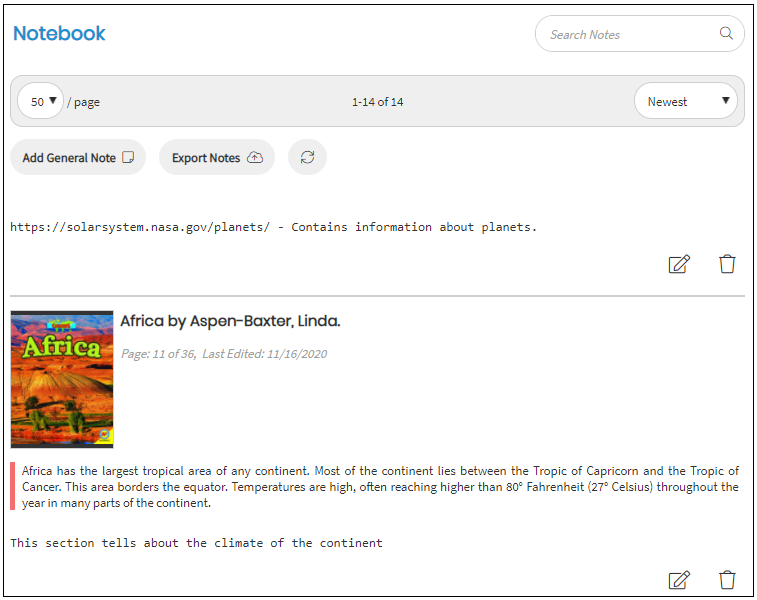
All of your notes and highlights are saved in your Notebook. You can access your Notebook from your Backpack or by going directly into a resource.
To access your Notebook from your Backpack, click the Backpack icon and select Notebook.

All of your notes and highlights will be listed here, even from titles that are no longer checked out to you.
To access your Notebook from a resource, select the resource and click the Open Now button.

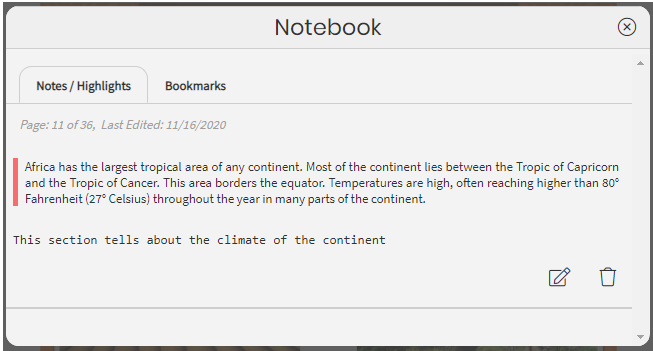
Click on the Notes icon in the upper right corner or select Notebook from the reader’s main menu.
Select the Notes/Highlights button.
![]()
Your notes and highlights for the title will be listed here.
Please Note: Notes and highlights taken while offline will be available in your Notebook as soon as the device is connected to the Internet.
Editing Notes
To edit a note, locate the desired note in your Notebook and click the Edit button.
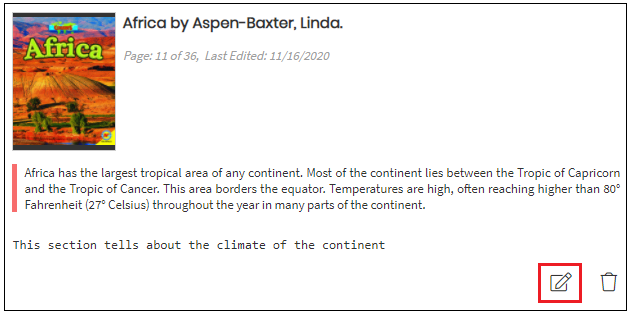
You can edit the text of the note or change the highlight color. Be sure to click the Save button after you are finished.

Deleting Notes
To delete a note, locate the desired note in your Notebook and click the Delete button.
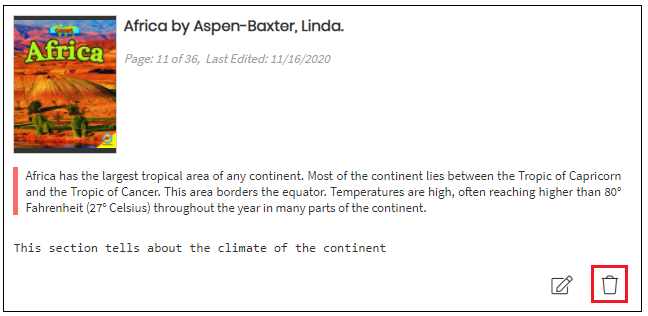
Select the Checkmark button next to the delete message to confirm.

